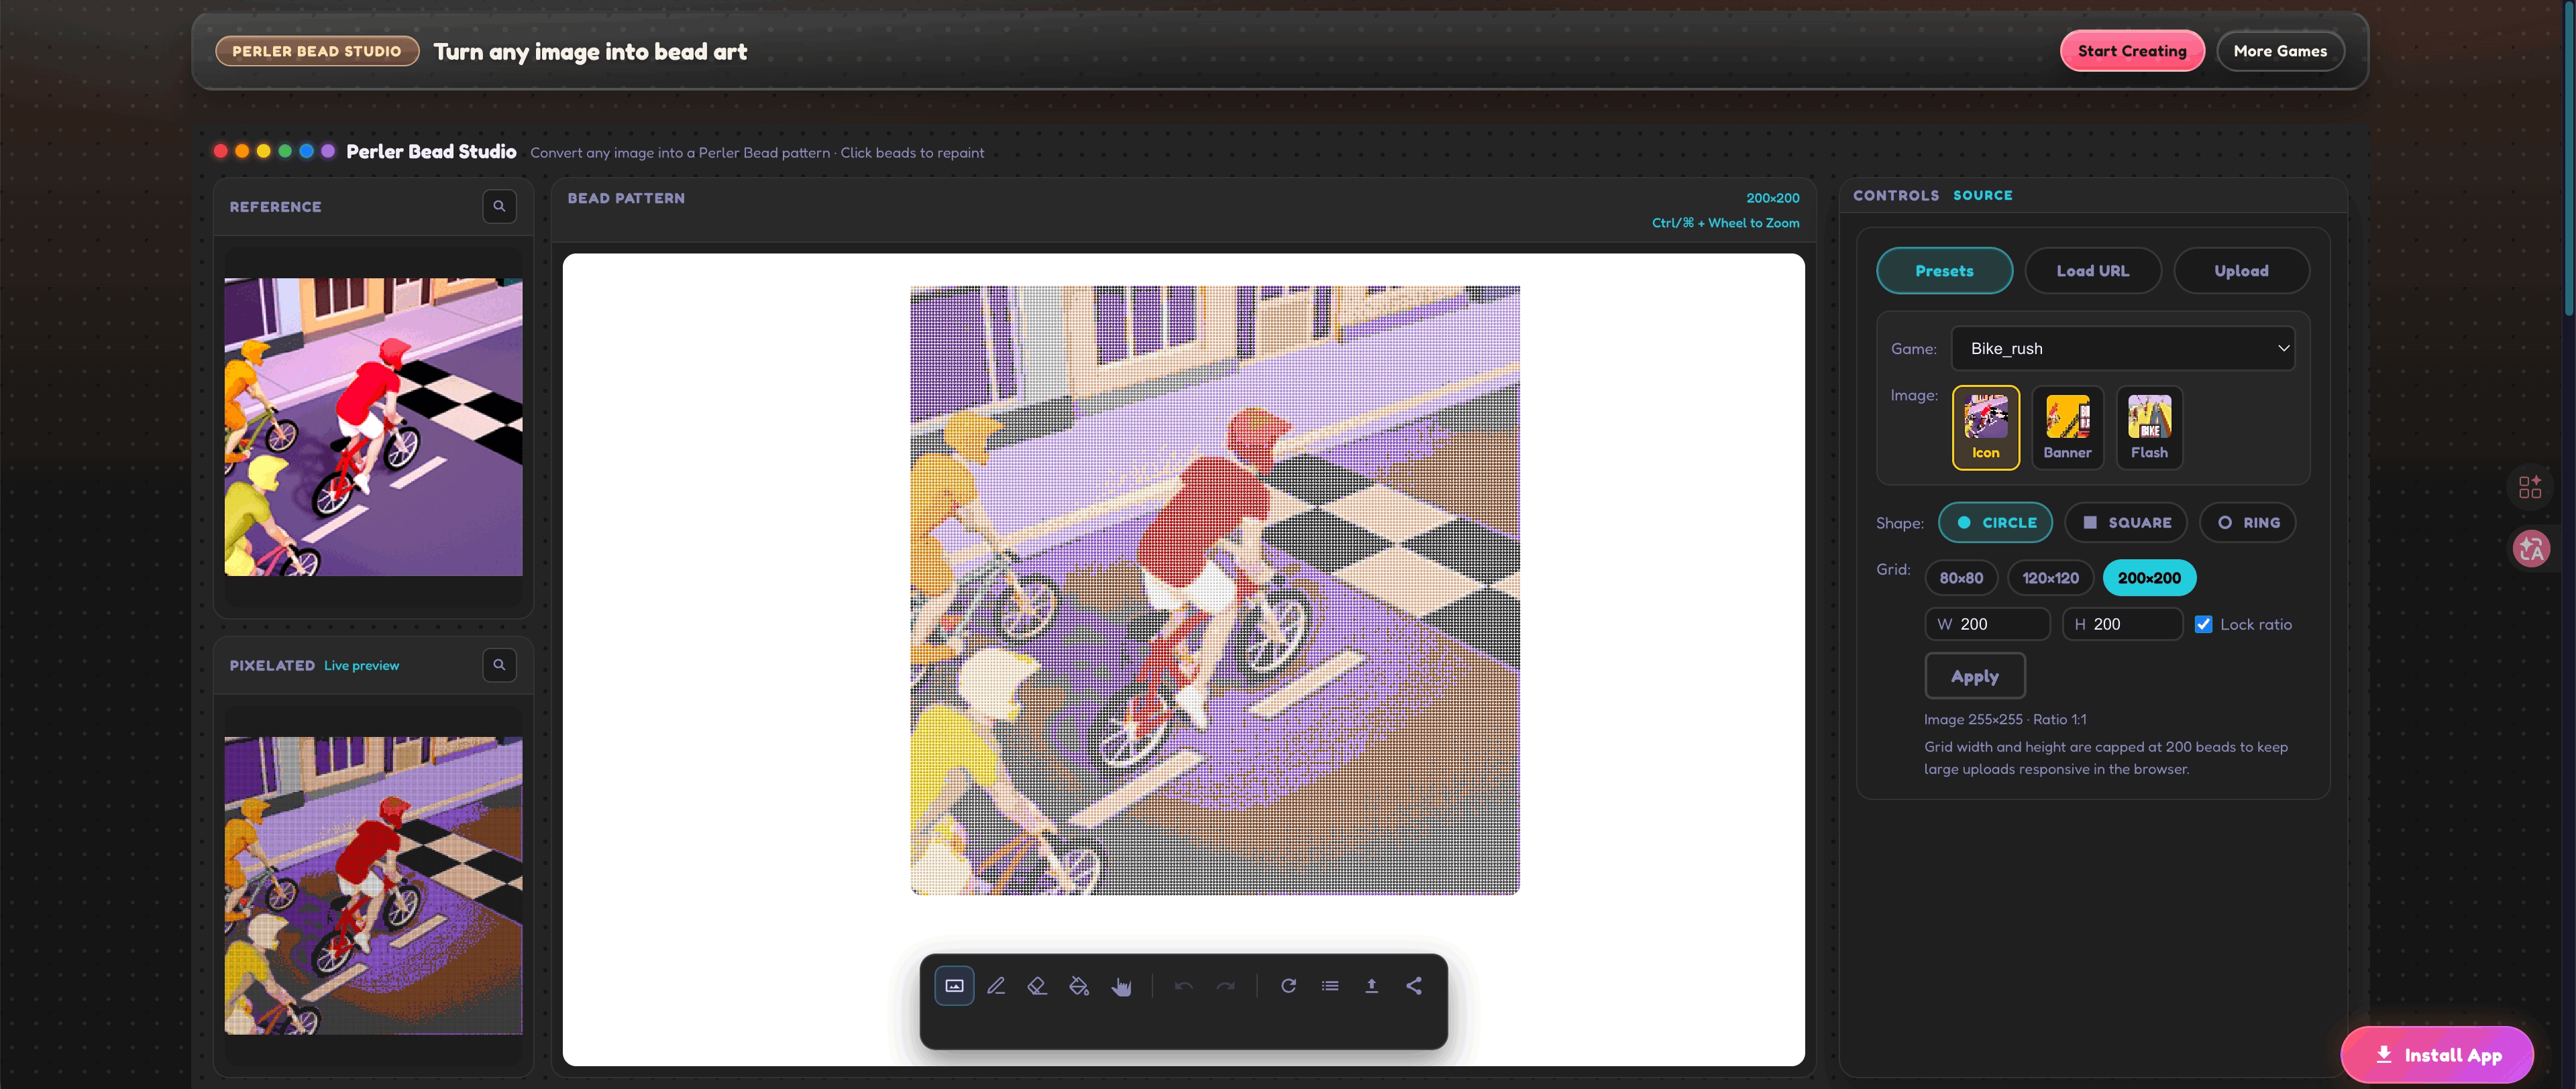
If you want a photo to become a usable Perler Bead pattern, the goal is not to keep every pixel from the original image. The goal is to end up with a pattern you can actually follow on a pegboard, with color blocks that still make sense once the design is reduced to beads.
That is why the best workflow starts with planning, not exporting. On the Perler Bead Studio, the fastest path is usually:
- Choose a clear source image.
- Set a realistic grid.
- Reduce the color noise.
- Check the bead preview, not only the pixel preview.
- Export a pattern you can follow row by row.
Start with the right kind of photo
The tool can turn almost any image into a pattern, but not every image is a good craft starting point.
The easiest images to convert have:
- one main subject
- strong contrast between subject and background
- simple lighting
- large shapes instead of tiny repeated detail
Portraits with soft shadows, pets against a plain background, simple logos, and bold cartoon art usually convert well. Busy scenery, low-light photos, and images with lots of texture usually create too many stray colors.
If the source image is complicated, crop it before you begin. A tighter crop gives each bead more responsibility, which usually makes the final design easier to read.
Pick the grid before you judge the pattern
Many beginners open a photo, dislike the first result, and assume the tool failed. In practice, the first problem is usually grid size.
If the grid is too small, the design loses structure. If the grid is too large, the image keeps too much information and becomes expensive or tiring to build. That is why the grid decision should come before fine color cleanup.
As a simple rule:
- use a smaller grid when the design depends on silhouette
- use a medium grid when facial features or symbols matter
- use a larger grid only when you know you want extra detail
If you are unsure, create two or three versions and compare them quickly. A good pattern still looks clear when you step back from the screen. If it only looks good when zoomed in, the design is probably too detailed for the project.
For a deeper grid-planning framework, see Best Grid Sizes for Perler Bead Projects.
Clean the color noise before you export
Photo conversions usually create several colors that are technically different but visually unnecessary. This is where the side-by-side workflow becomes useful.
Instead of looking only at the pixelated version, compare:
- the original image
- the simplified pixel preview
- the bead view you will actually build from
This comparison tells you which colors matter and which ones only add clutter.
Common cleanup wins include:
- merging nearly identical highlight colors
- reducing background shades to one or two blocks
- simplifying skin or fur tones where the difference is too subtle to matter in beads
- removing isolated single-bead accents that distract more than they help
If a color appears in only a few scattered places and does not define the subject, it is usually a candidate for merging.
For a full process, read How to Reduce Colors in Perler Bead Patterns.
Use the bead preview to judge the real build
The bead preview matters because Perler projects are not made from square image pixels. They are made from repeated beads placed on a grid. A pattern that looks acceptable in a flat pixel preview may still feel messy once it becomes a bead map.
When checking the bead preview, ask:
- Can I still identify the subject quickly?
- Do important outlines stay readable?
- Are the color groups large enough to place with confidence?
- Will the final board look intentional from normal viewing distance?
If the answer is no, simplify the image again instead of pushing forward with a weak pattern. A slightly simpler pattern usually looks better as a finished craft than a noisy pattern with more theoretical detail.
Watch the bead count before committing
One of the most useful planning habits is checking bead totals before you build. A pattern can look great and still be a poor fit for your time, your materials, or your patience.
Bead count helps you answer questions like:
- Is this project realistic for one sitting?
- Am I about to use too many colors for a beginner build?
- Do I need a cheaper or faster version first?
If the count feels high, you do not always need a new image. Often you only need:
- a slightly smaller grid
- fewer similar colors
- a tighter crop focused on the main subject
That is a better fix than restarting from scratch.
Export a pattern that is easy to follow
The last step is not just saving an image. It is exporting a pattern you can actually build from.
That means your final pattern should let you:
- find your place on the board quickly
- count sections without rechecking every row
- identify your main colors at a glance
The coordinate-style download in the studio is especially useful here because it turns the finished image into a workable map instead of a decorative screenshot.
If you know you lose your place easily on larger boards, export sooner rather than later and review the coordinates before you start placing beads. It is much easier to catch awkward areas on the pattern than on a half-finished board.
A simple workflow that works for most beginners
If you want one repeatable process, use this:
- Upload a photo with a clear subject.
- Try a moderate grid first.
- Compare the pixel preview and bead preview.
- Merge noisy colors until the image reads cleanly.
- Check bead totals and make sure the project still feels practical.
- Export the coordinate pattern and build from that version.
This process works because it treats the pattern like a craft plan, not just an image conversion.
When to remake the pattern instead of editing more
Sometimes cleanup is no longer worth it. Start over with a different crop or grid if:
- the subject is still hard to recognize after several color merges
- the background keeps competing with the main subject
- the pattern depends on tiny facial or texture detail that disappears at your chosen size
- the bead count is too high for the value you are getting back
A cleaner second version is usually better than forcing a weak first version to survive.
Final thought
The best photo-to-Perler patterns are usually the ones that simplify early and build clearly. If you choose a strong source image, set a realistic grid, and reduce noise before export, you end up with a pattern that feels intentional from the first row to the final iron.
Once that workflow becomes familiar, the studio stops being only a converter and starts working like a planning tool. That shift is what makes better patterns possible.
Community
Comments
Sign in with GitHub to join the discussion for this guide.